Before I start, let me say that GoAccess can also generate static data as long as you have a log.
Because I think the real-time feeling is more dazzling, so this article will focus on the part of GoAccess real-time display.
Although Google Analytics (GA) is very useful, it is also very good to try another GA.
For example, you want to know what browser the website users use to visit the website.
I wrote GoAceee in my notes several years ago, but it was so long that I forgot about it.
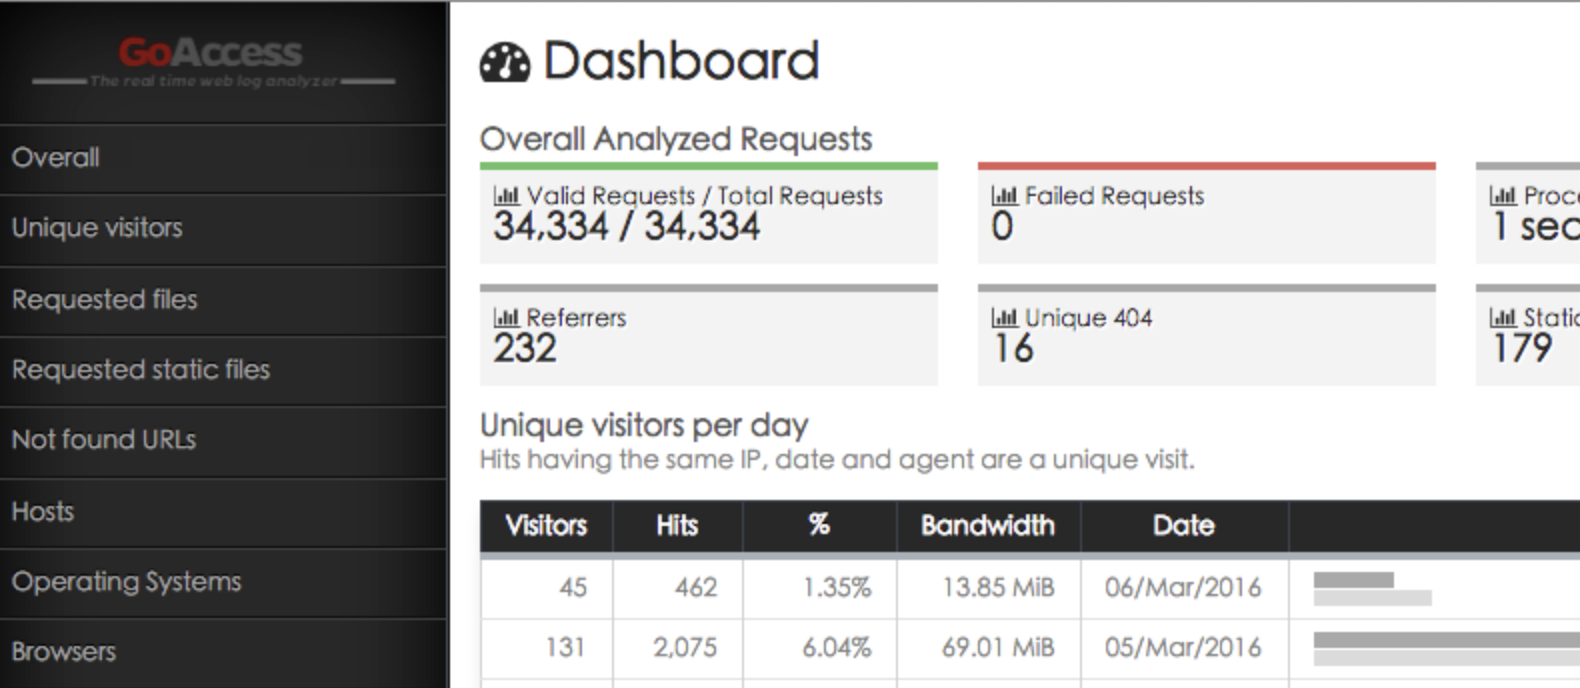
Below is the early old picture, let’s recall, I will update my latest practice in this article. 
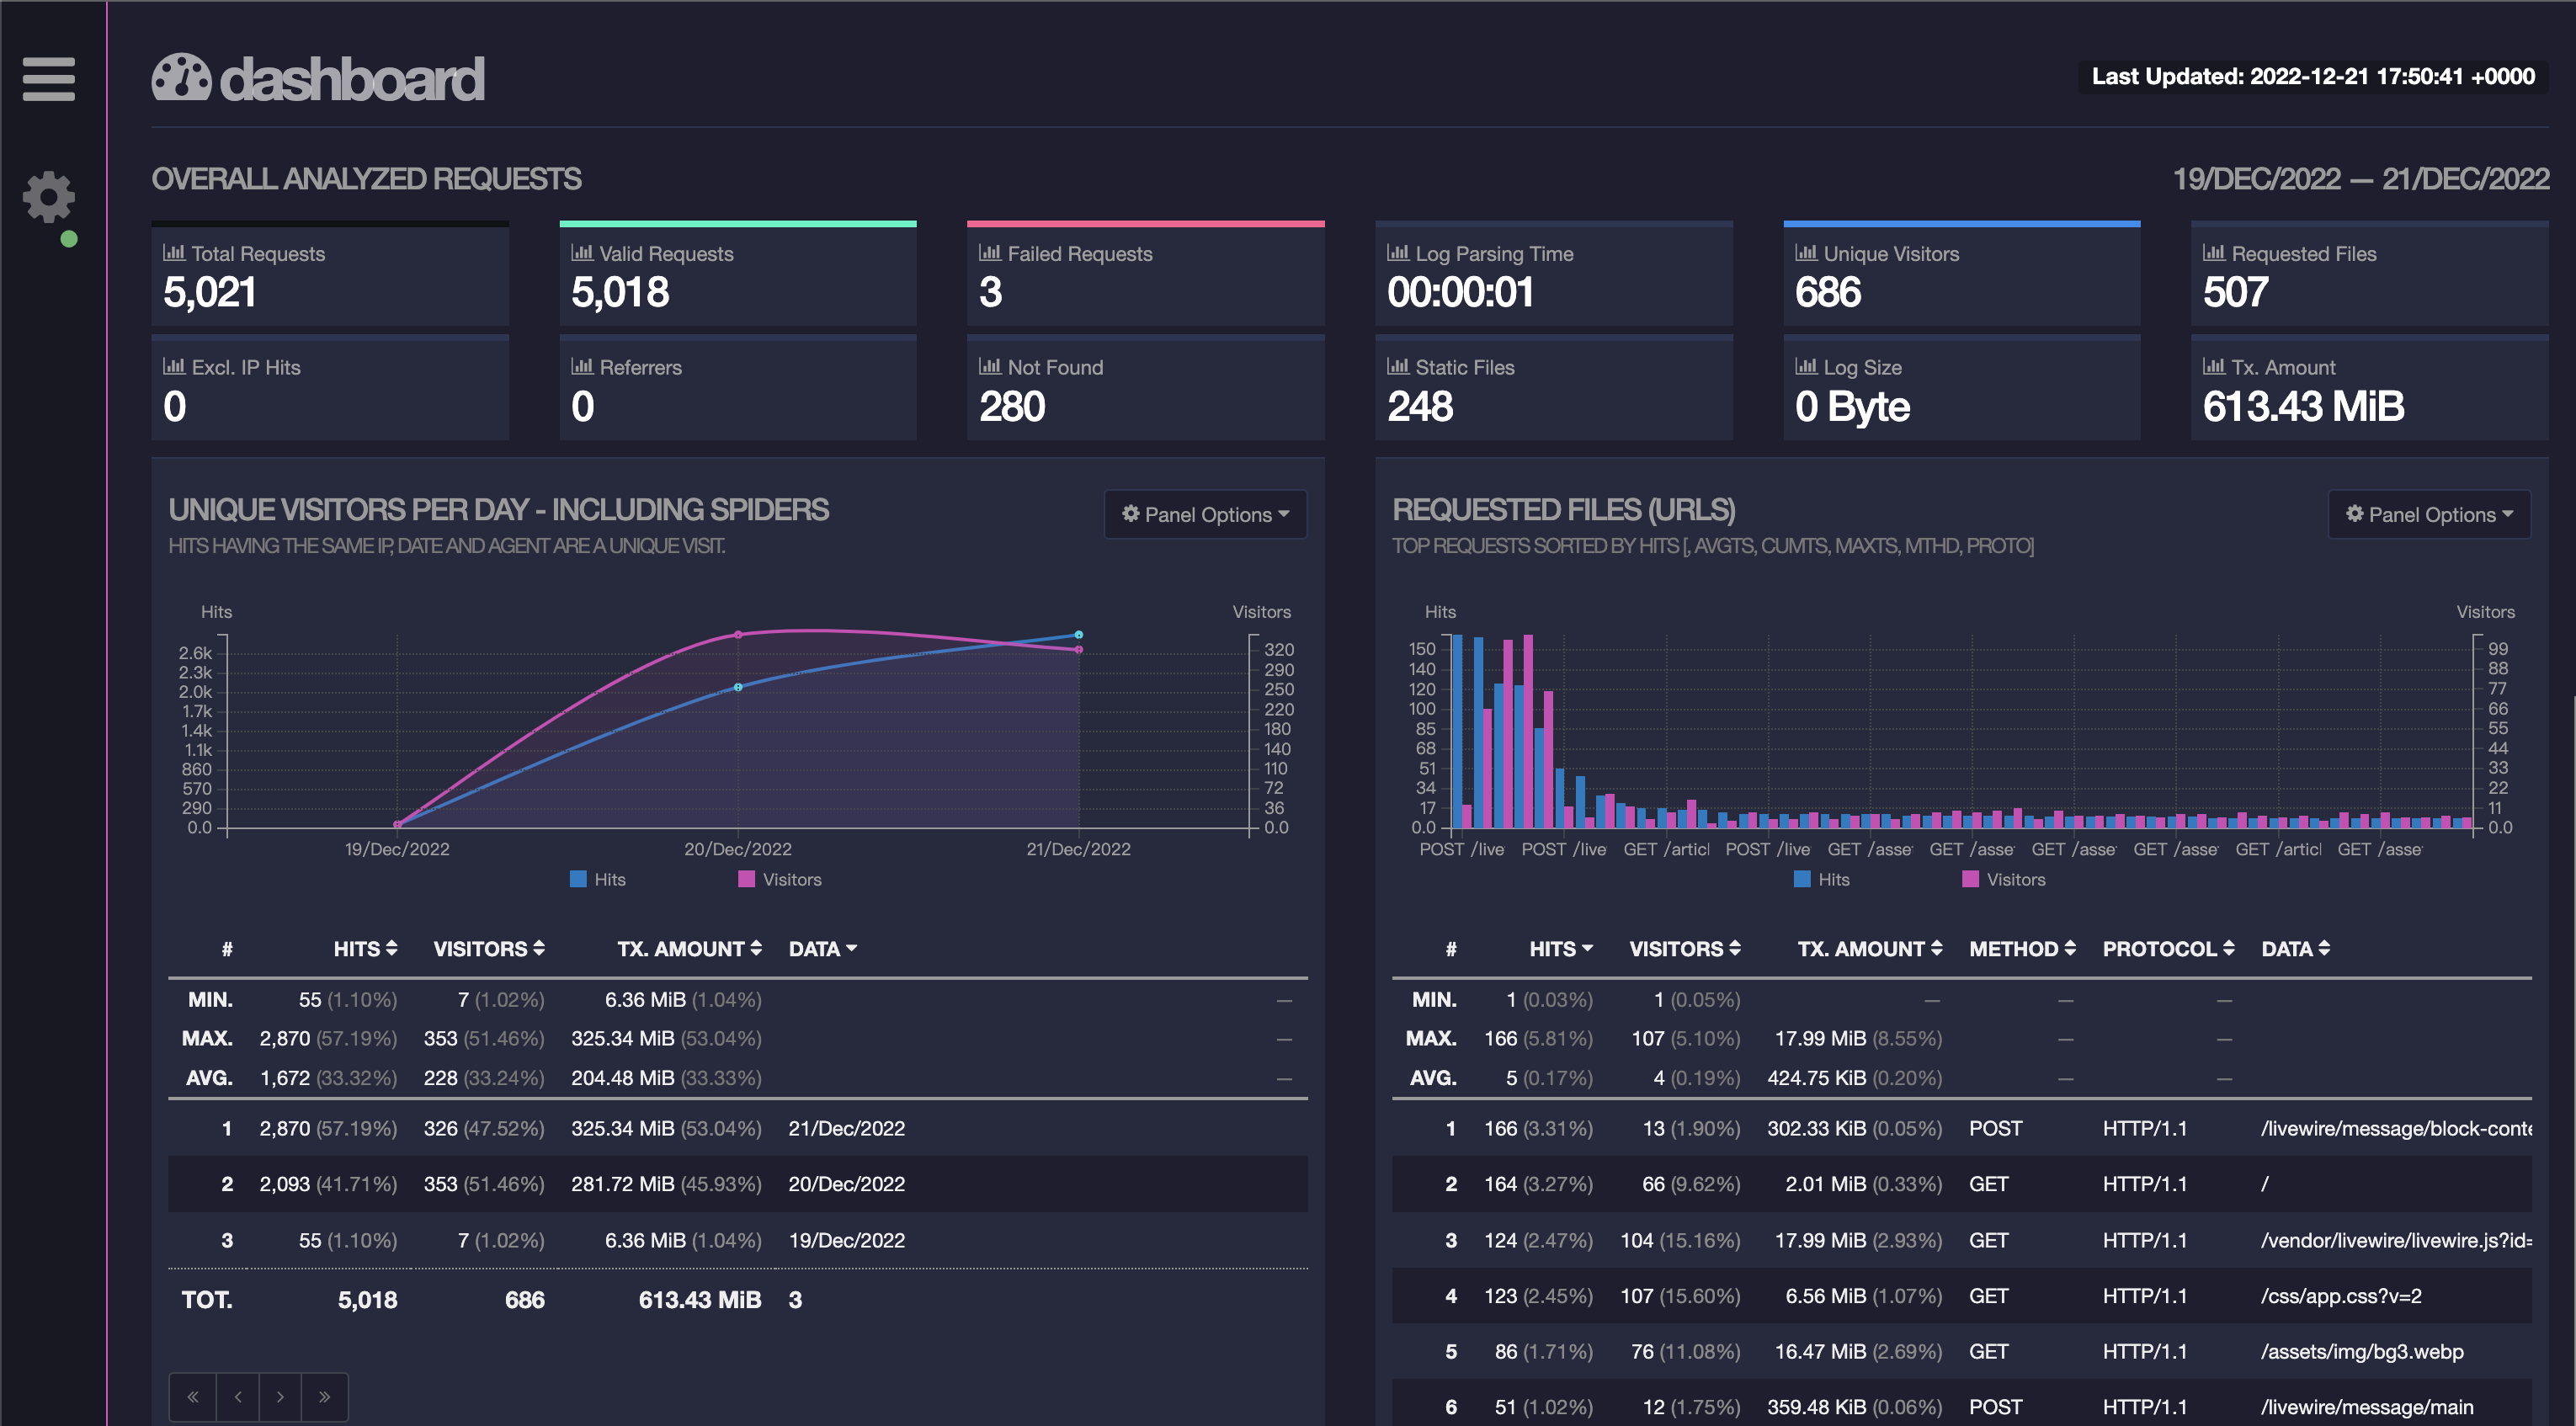
Before you start, Let’s show the new UI first. The green sign in the picture means that the WebSocket is connected correctly, so when the user opens the website, the response will be displayed on the screen immediately. 
In this article, I will The environment of phpenv is used for explanation, because it is simple and easy to set up, but basically phpenv is bash wrapped with docker, not a wolf wrapped with sheep. 🤪
So phpenv can run, and your Docker environment settings should not be a problem.
If you want to search for phpenv, you can use the keyword deviny/phpenv and you will find it.
Let's just start, it's very easy. 😎
Step 1: In phpenv, we can use the following command to export the log of nginx, which can be stopped by Ctrl+c
./console logs --no-log-prefix -f web|tee nginx.log
If you are not using phpenv, you can replace ./console with docker-compsoe to try your luck. Your container service name may not be called web, please adjust it yourself.
Step 2: Open another terminal and perform simple verification. In the command of the first step, nginx.log will be generated in the phpenv directory.
We can issue the tail -f nginx.log command, and then open the web page to see if the log will run. If it does, you are almost successful. 
Start interrupt with Ctrl+c .
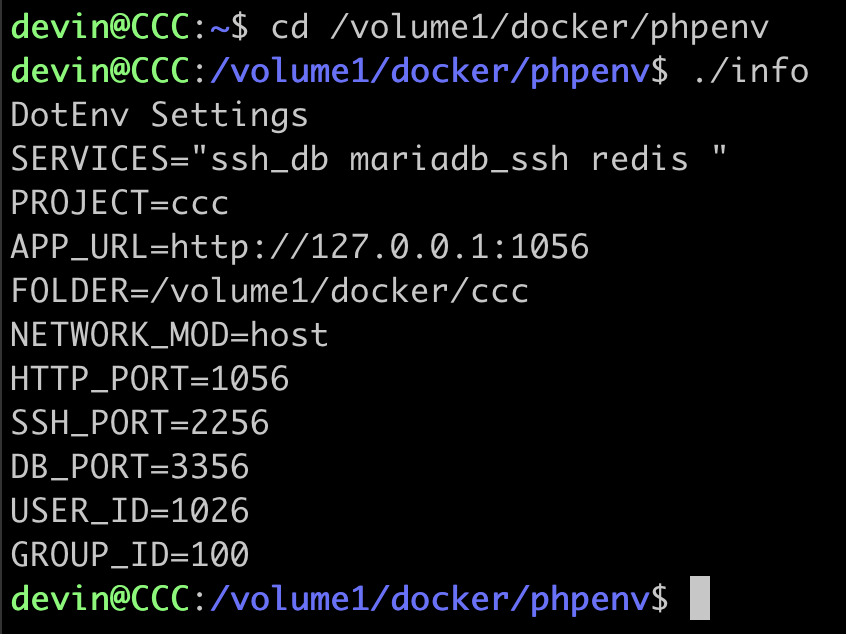
Step 3: View the environment configuration file, phpenv provides a simple ./info command, which allows us to view the environment settings of the container project
Pay attention to the two settings of HTTP_PORT and FOLDER, follow this related to this operation. 
Step 4: Set your For security reasons, you can use phpenv to start another unlisted WEB, or change the name of report.html to a complex name (in the instructions below).
Here, I directly use the current ccc project to start the test, the port 1056 used by the intranet of the ccc project, and the Laravel project folder is /volume1/docker/ccc.
So, the GoAccess command is as follows, please figure it out yourself:
tail -f nginx.log|
docker run -p 7890:7890 --rm -i -e LANG=$LANG allinurl/goaccess -a -o html --log-format COMBINED --real-time-html - >  /volume1/docker/ccc/public/report.html
In the above two lines of instructions, copy and paste them all on the terminal, and he will throw the standard output of nginx.log to the official container of goaccess for processing.
You need to pay attention, replace the Proejct directory behind me /volume1/docker/ccc/public/report.html
This container will open the WebSocket of port 7890 by default to transmit data.
Before starting the command above, you can also clear nginx.log first, because an incorrect log file will fail to start.
$ >nginx.log
The picture below is the result of my startup: < br>My host's intranet IP is 192.168.99.130, so I can open the URL below to see real-time analysis.
http://192.168.99.130:1056/report.htmlIf you want to change the port of WSS, for example, to 7800, please change both sides of the colon together, and add the --port 7800 parameter, the command is as follows:
tail -f nginx.log|
> docker run -p 7800:7800 --rm -i -e LANG=$LANG allinurl/goaccess --port 7800 -a -o html --log-format COMBINED --real-time-html - >  /volume1/docker/ccc/public/report.html
 [SETTING UP STORAGE -] {0} @ {0/s}
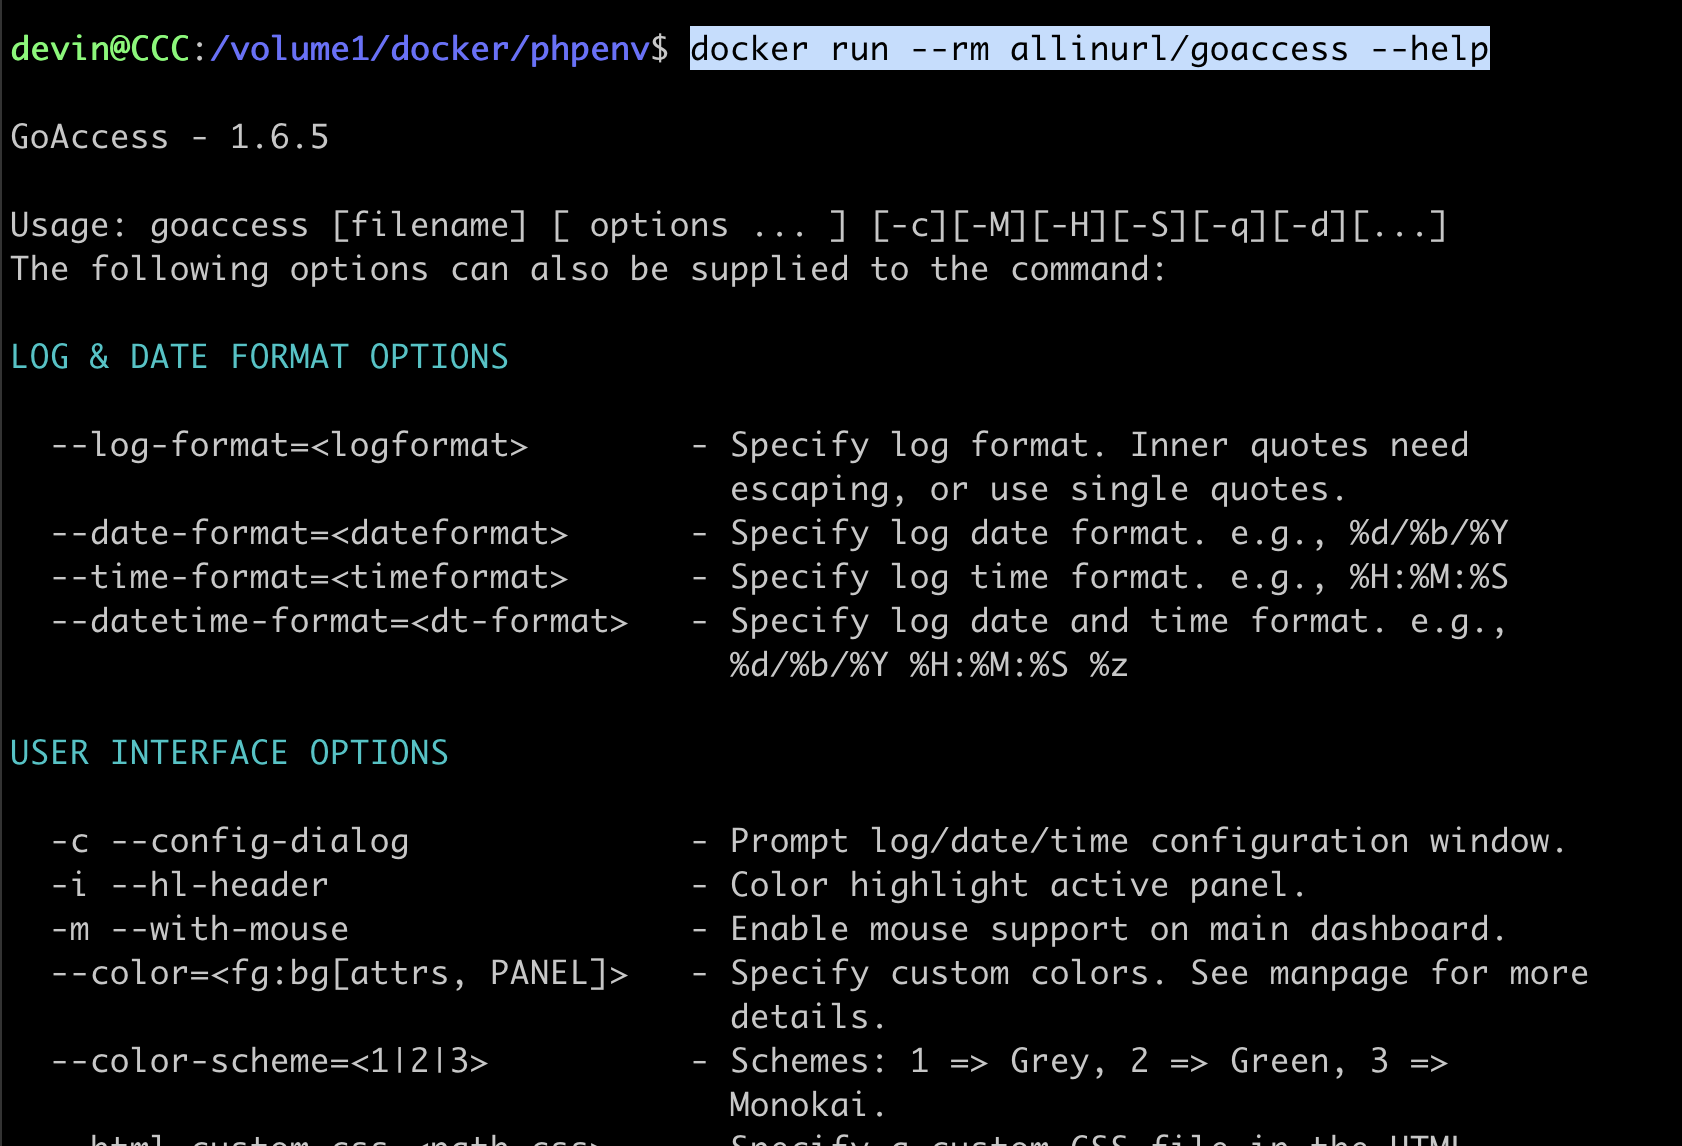
If you want to study in depth, you can use the Docker command to list the help instructions
docker run --rm allinurl/goaccess --help
The actual operation screen is as shown in the download picture
The above is the easy and fast operation of GoAcess.
In the bash environment, we can use nohup and & to put these two commands into the background for execution.
nohup ./console logs --no-log-prefix -f web|tee nginx.log &
nohup tail -f nginx.log|
docker run -p 7890:7890 --rm -i -e LANG=$LANG allinurl/goaccess -a -o html --log-format COMBINED --real-time-html - >  /volume1/docker/ccc/public/report.html &
Finally attach the official download URL:
https://goaccess.io/download


No Comment
Post your comment