phpenv php laravel runs HAProxy, and automatically applies for and updates free certification, now let him run Python's fastapi. There is no limit to phpenv, the limit is your idea.😆
1. First, I touch an environment file in the envs directory.
devin@ai:~/phpenv/envs$ touch fastapi_cv22. The newly added fastapi_cv2 content is as follows:
DEFAULT=fastapi
PROJECT=cv2
WORKSPACE=fastapi
FOLDER=/home/devin/sd/rembg
FASTAPI_PORT=8001
It is defined here. By default, I use the fastapi.yml file, and I name the project name cv2.
The fastapi.yml file has been built into the latest version of phpenv, and its service name is fastapi.
Through the specification of WORKSPACE, we can directly enter the fastapi container through simple bash and ./console.
3. After completing the second step of setting up the environment file, we can execute ./link to select the environment file. Come and paste it directly to the screen. Maybe you can see it, and you should have a better understanding of how I operate it.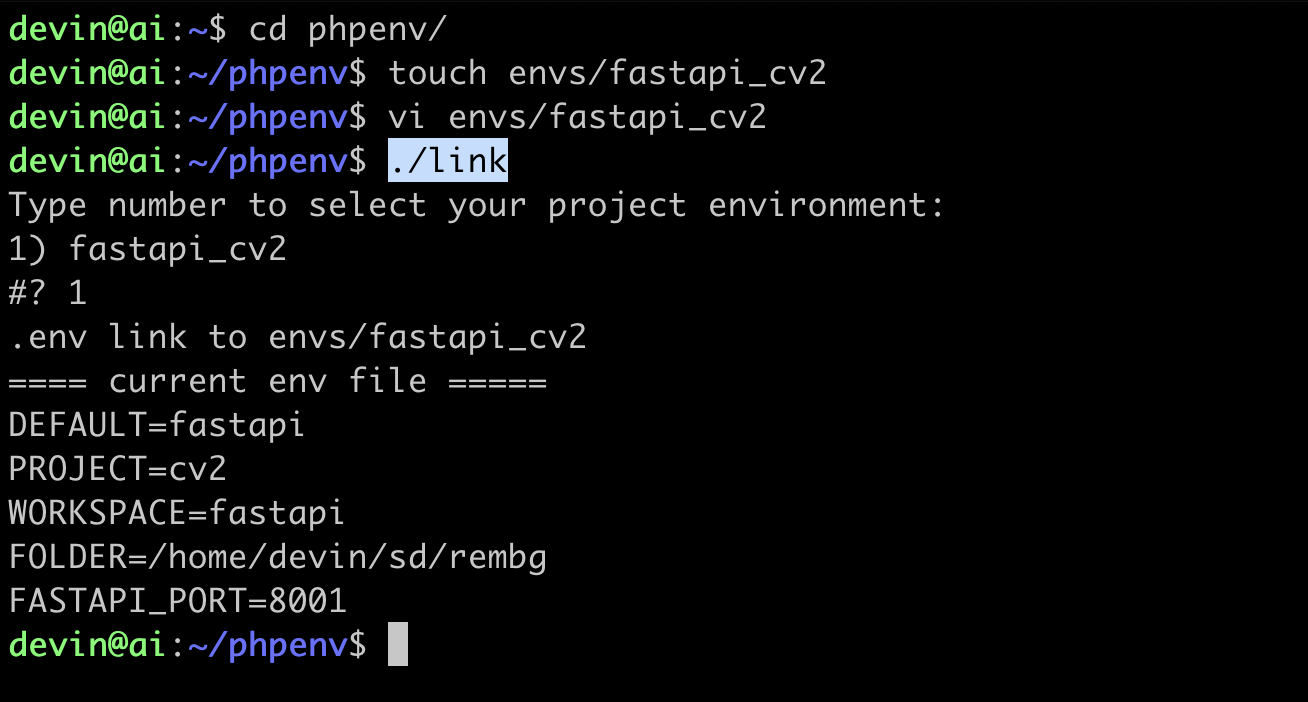
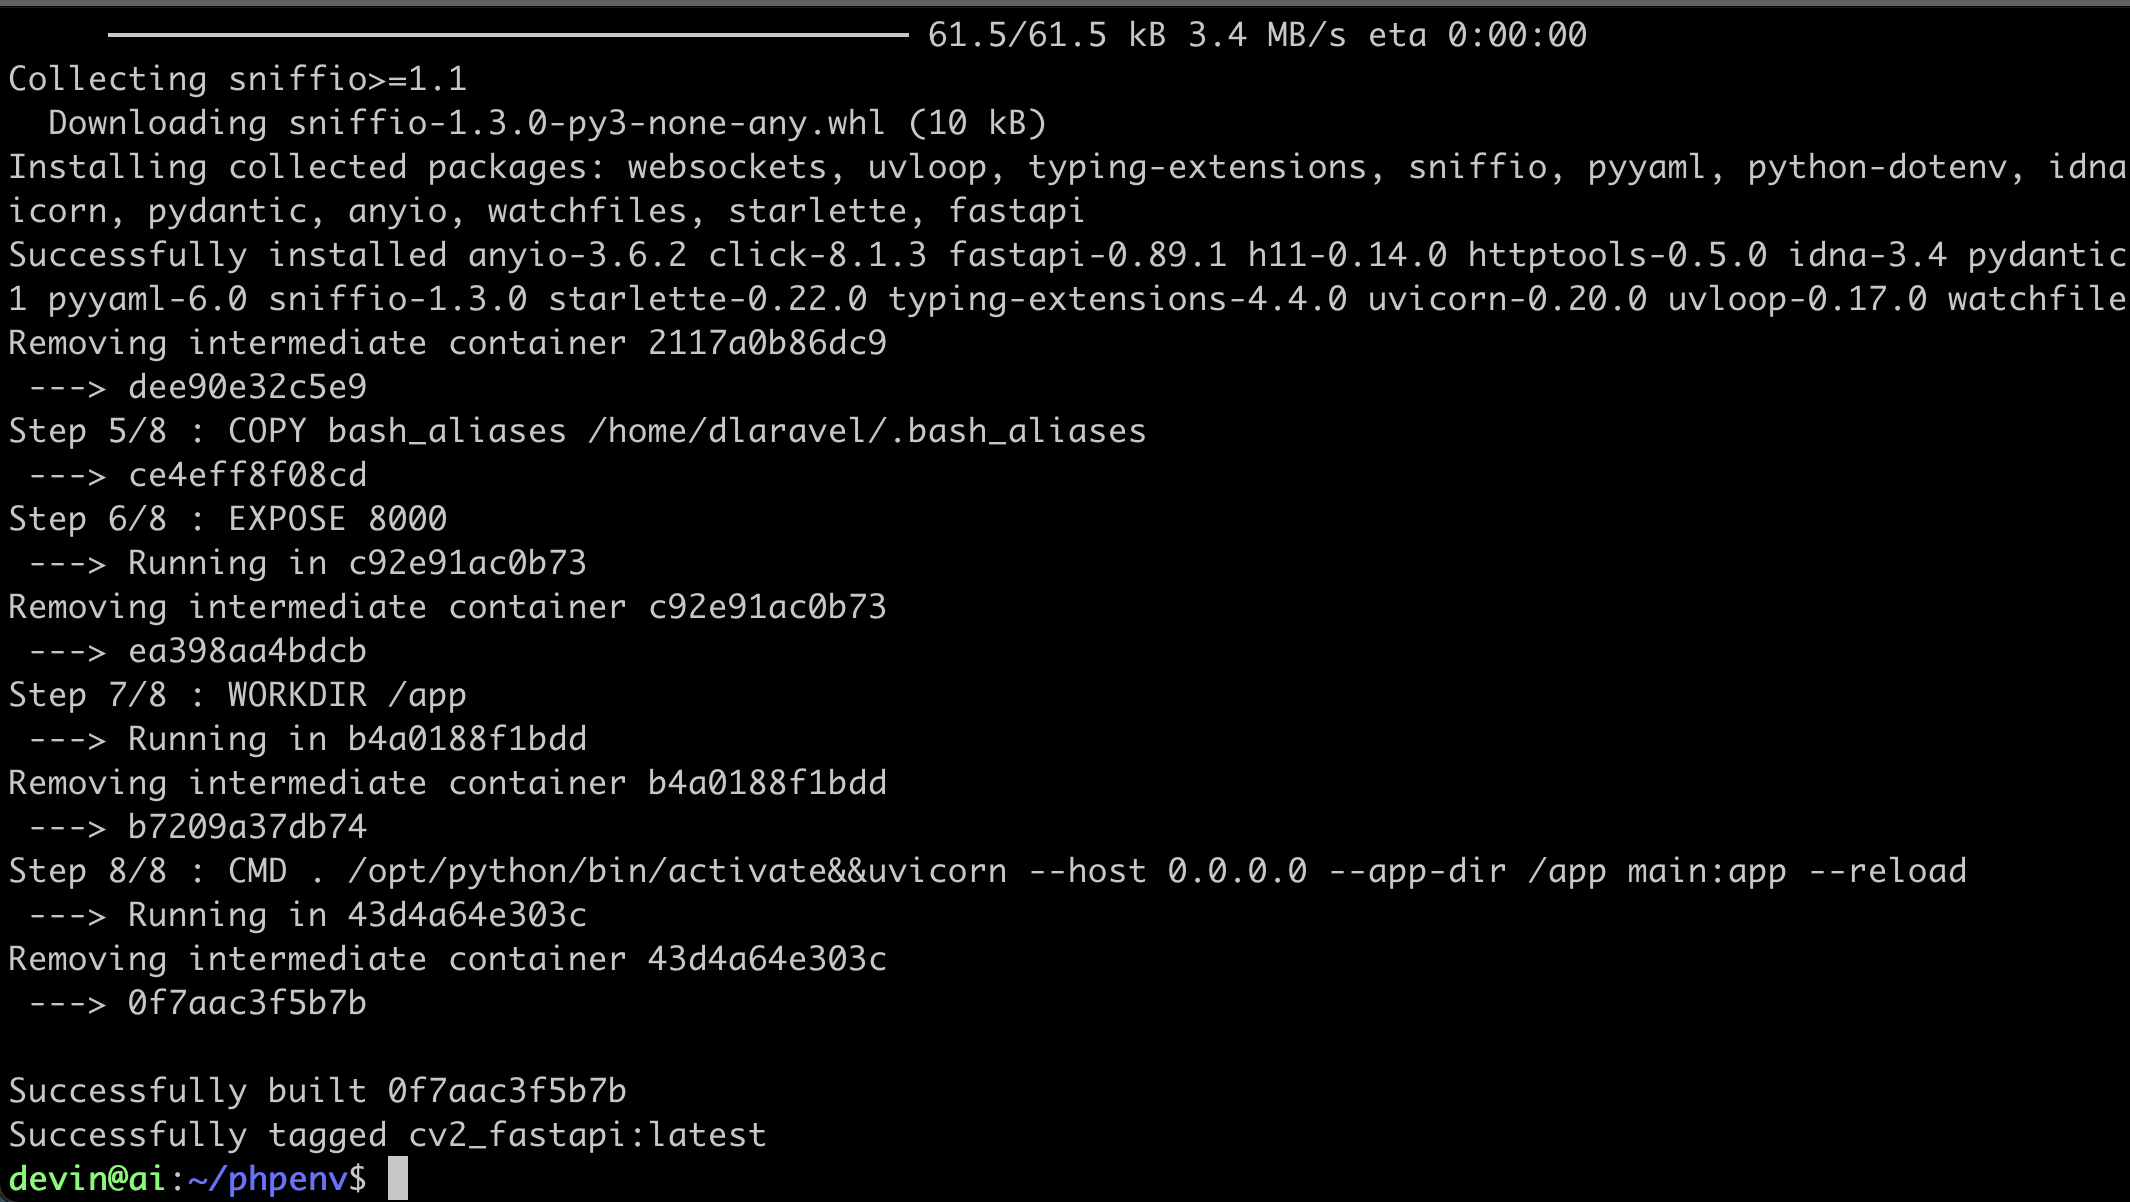
4. Standard process. After we set up the environment file and execute ./link selection, we need to execute ./console build, which is used to create a dedicated image for this project.
If necessary, please adjust your Python version according to your own project needs
。(dockerfiles/Dockerfile-fastapi)
You can also copy a new fastapi.yml file, everything is up to you, php only provides a basic operation method for reference, of course DEFATUL=fastapi should point to your newly created yml file.
./console buildThe result is as follows:
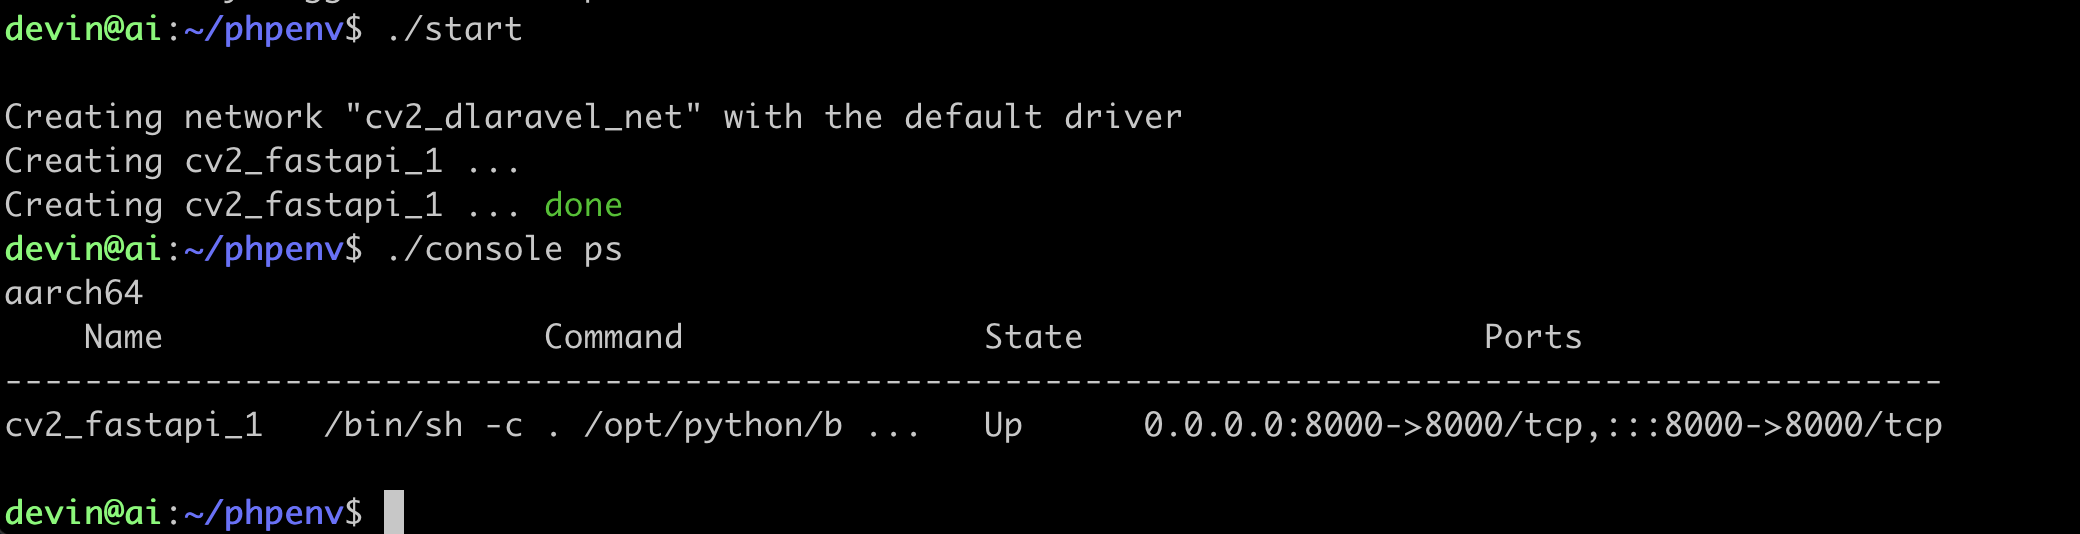
5. After the successful build, let’s start it, start it through ./start, and then check it through ./console ps.
./start
./console ps
The actual screen is as follows:
6. Remember that in the second step, I have already specified the folder of the Project?
FOLDER=/home/devin/sd/rembg,
Let's go straight into the container with ./console.
This is where phpenv comes in handy, have you noticed?
:)
./consoleActual picture:
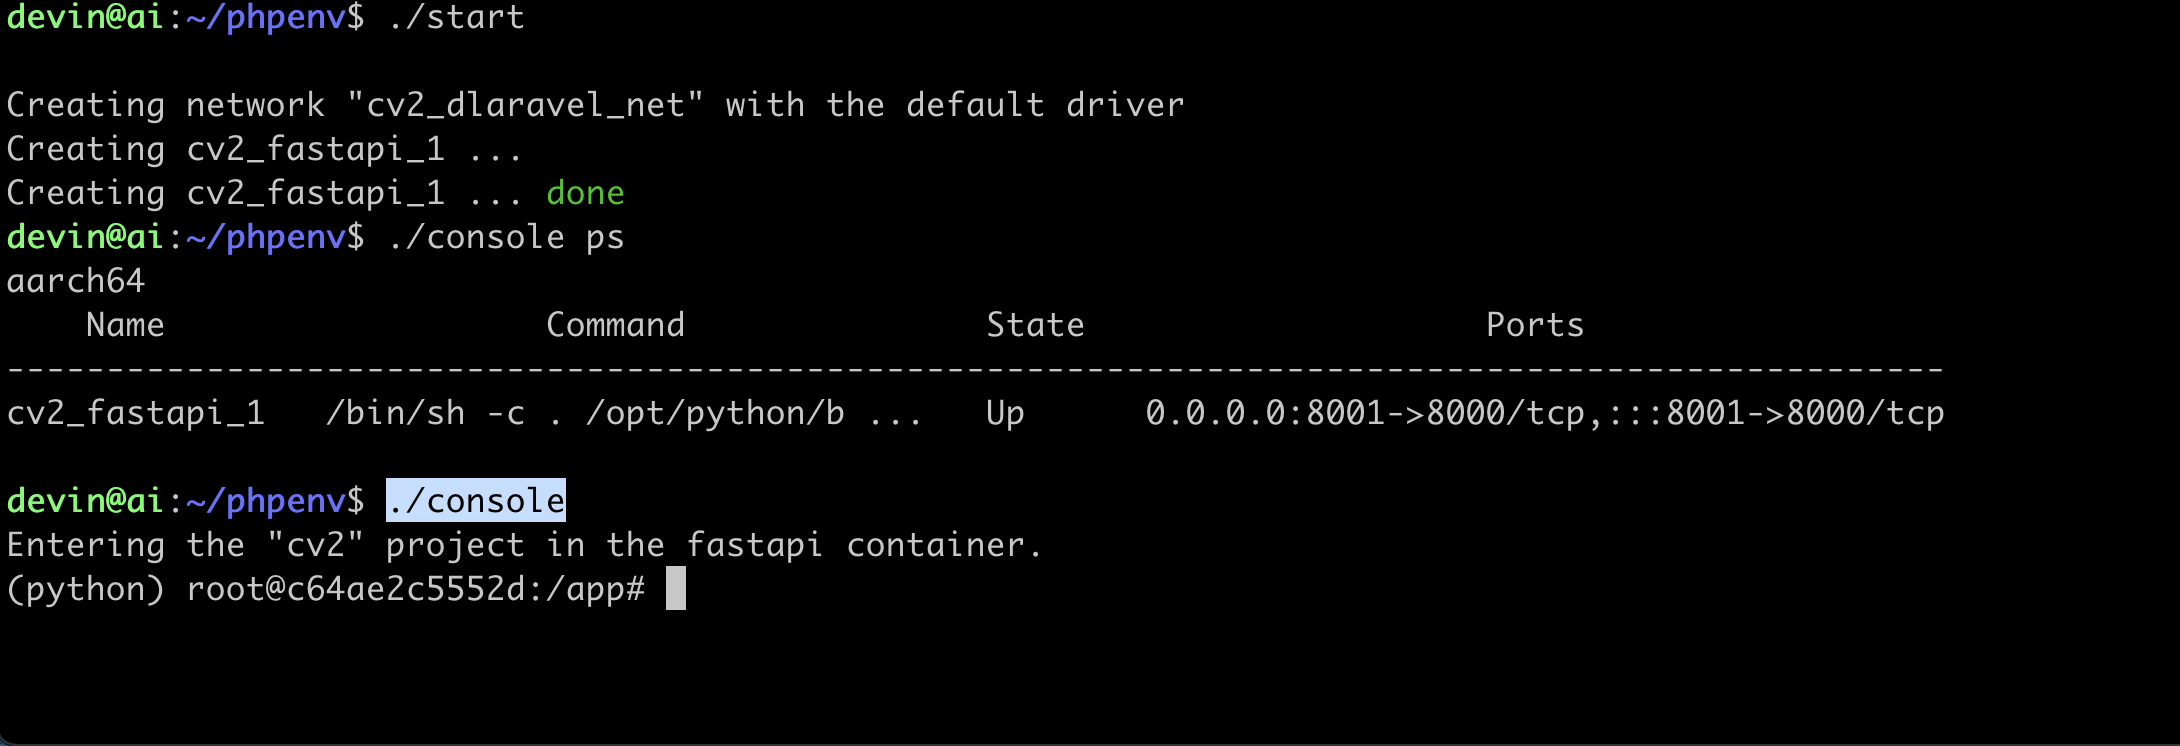
You should have noticed that it automatically executes source /opt/python/bin/activat for you, and switches to the /app directory.
7. Standard package installation process, let us use pip to install the package.
We can choose a new installation or an existing requirements.txt installation.
pip install -r requirments.txt
The installation is like this, the actual operation screen:
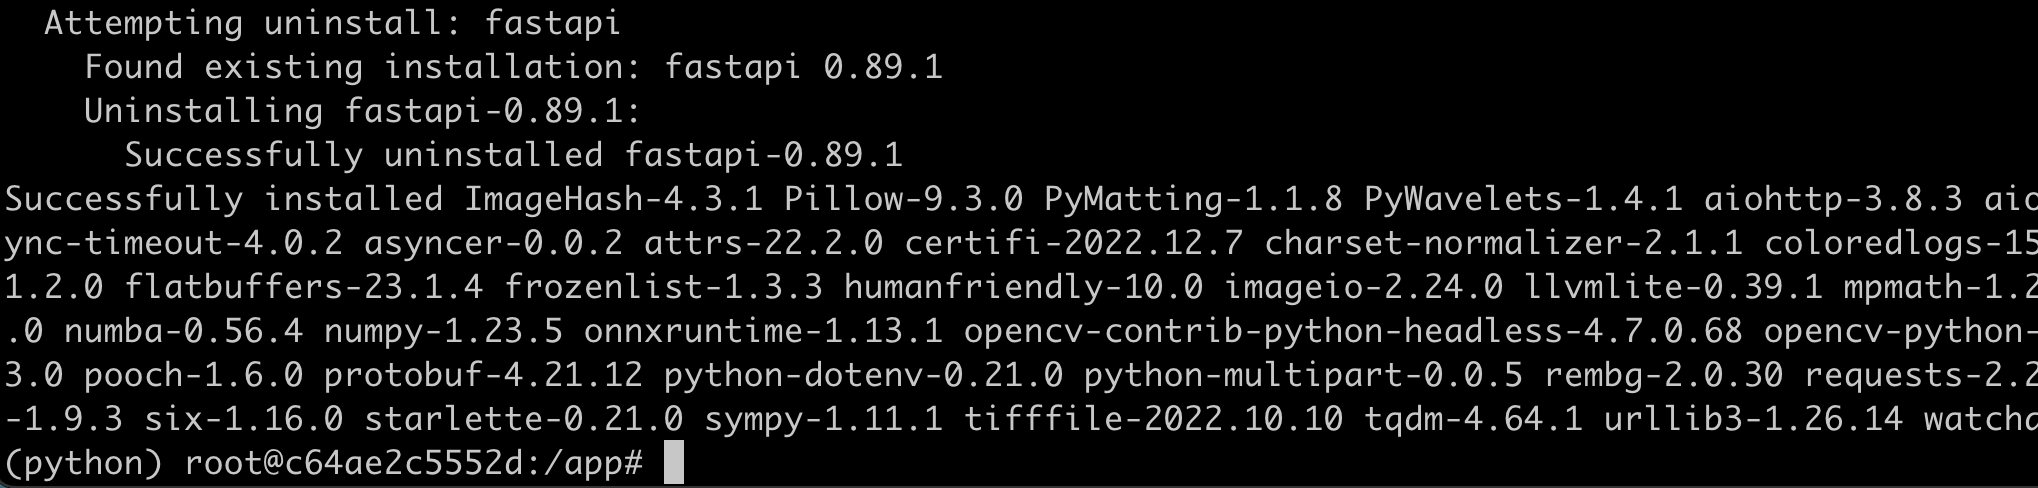
8. We can leave the container through ctrl+d to find out the execution container, because my project is called cv2, so it can be like the following

9. Since we have completed the installation of requirements in the seventh step, we need to commit the Docker container to the image, so that we do not need to reinstall after the next restart.
Simply copy the hash and name in the screen, and you can commit.
結果如下:
10. Restart directly to test to see if the Project will run :)
./restart
The result of the operation is as follows: 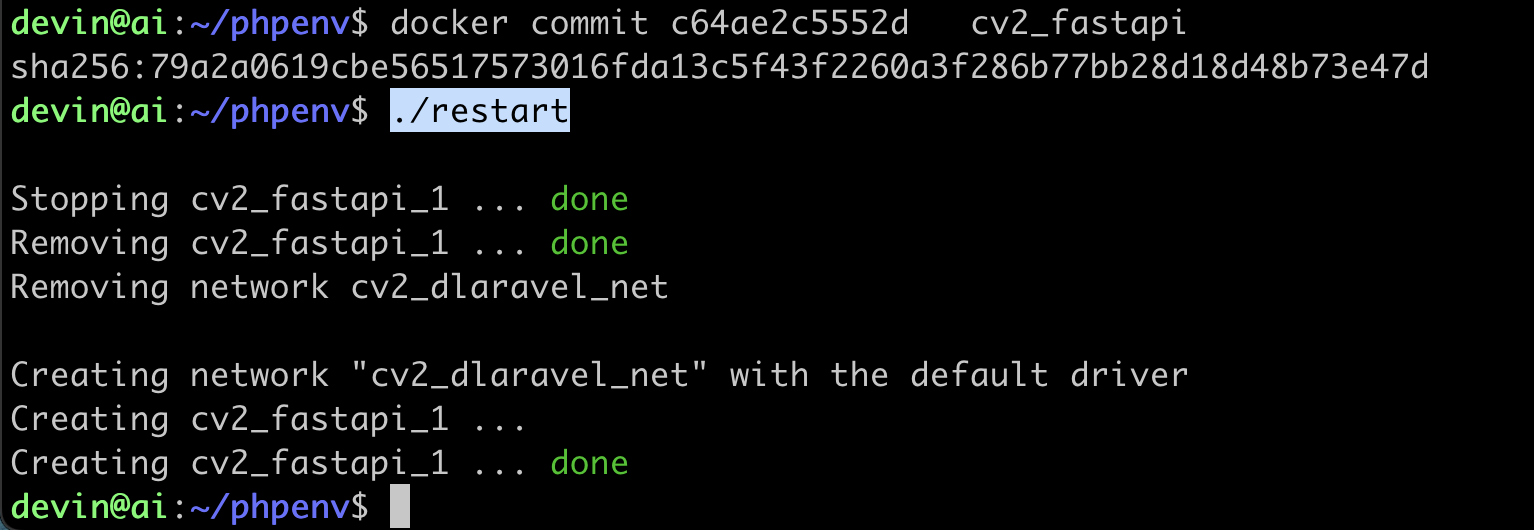
Because there is only one container, we can check whether the result of the execution screen is wrong without specifying the service name.
./console logs -f
The result is as follows, well, it looks very normal so far so good:)
Successfully execute Python's fastapi with phpenv.
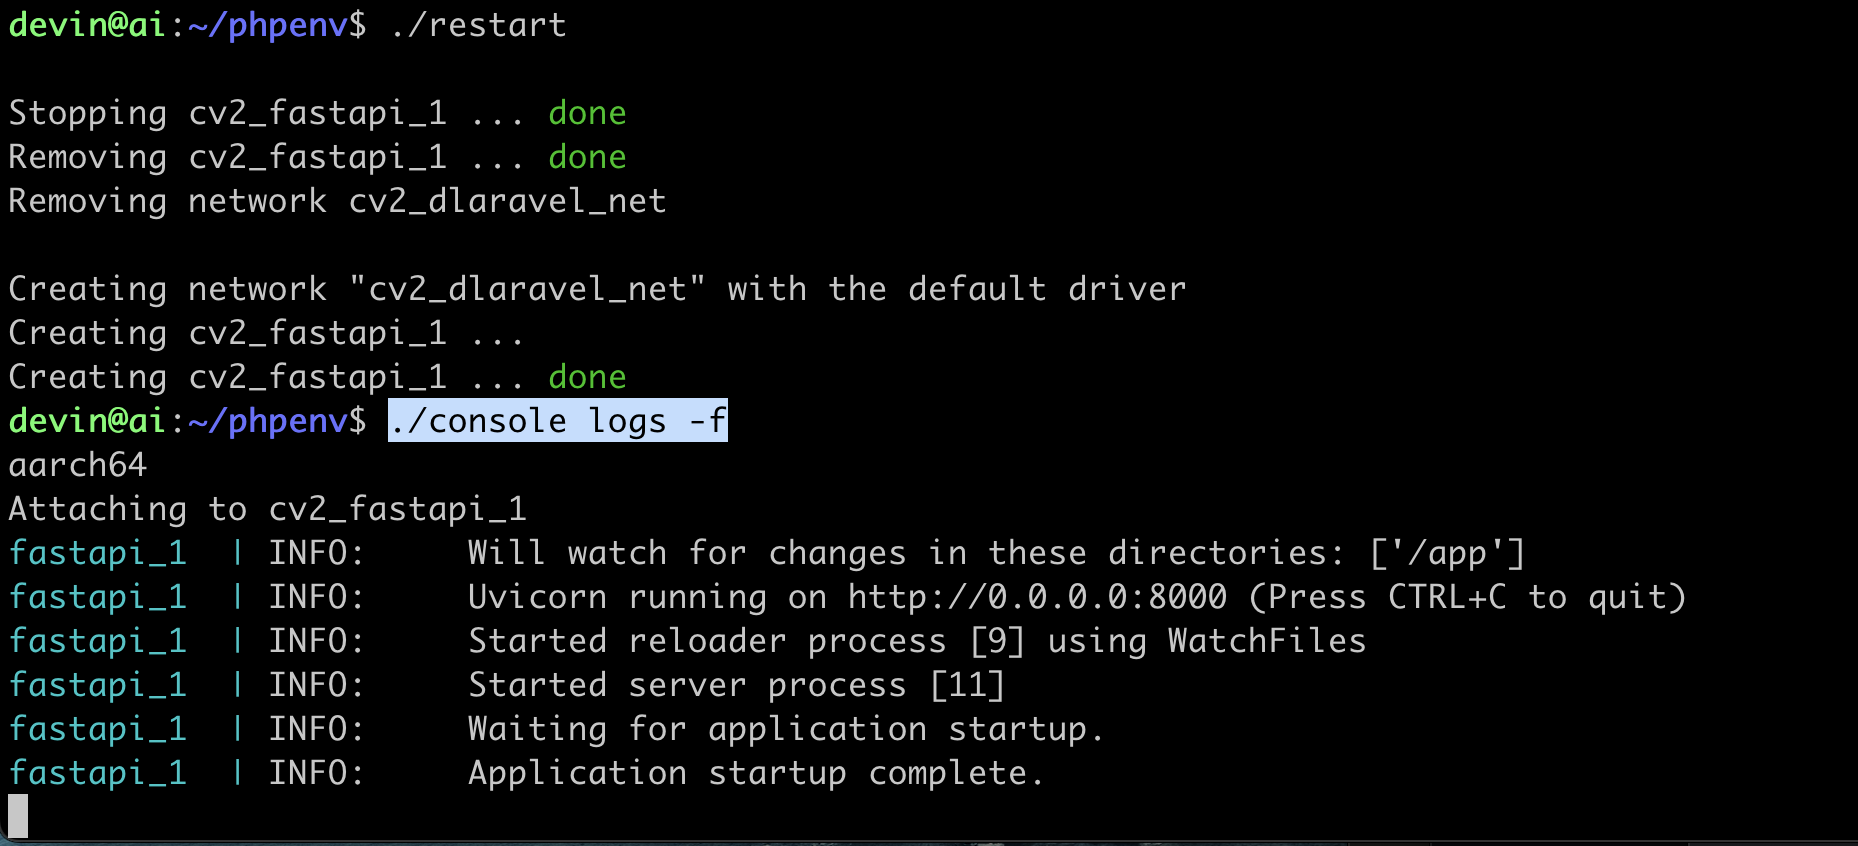
In this pattern, the port 8000 of his Listen is the connection port in the container. Remember, my environment setting in .env is 8001, so we can access it through 8001 on the host side

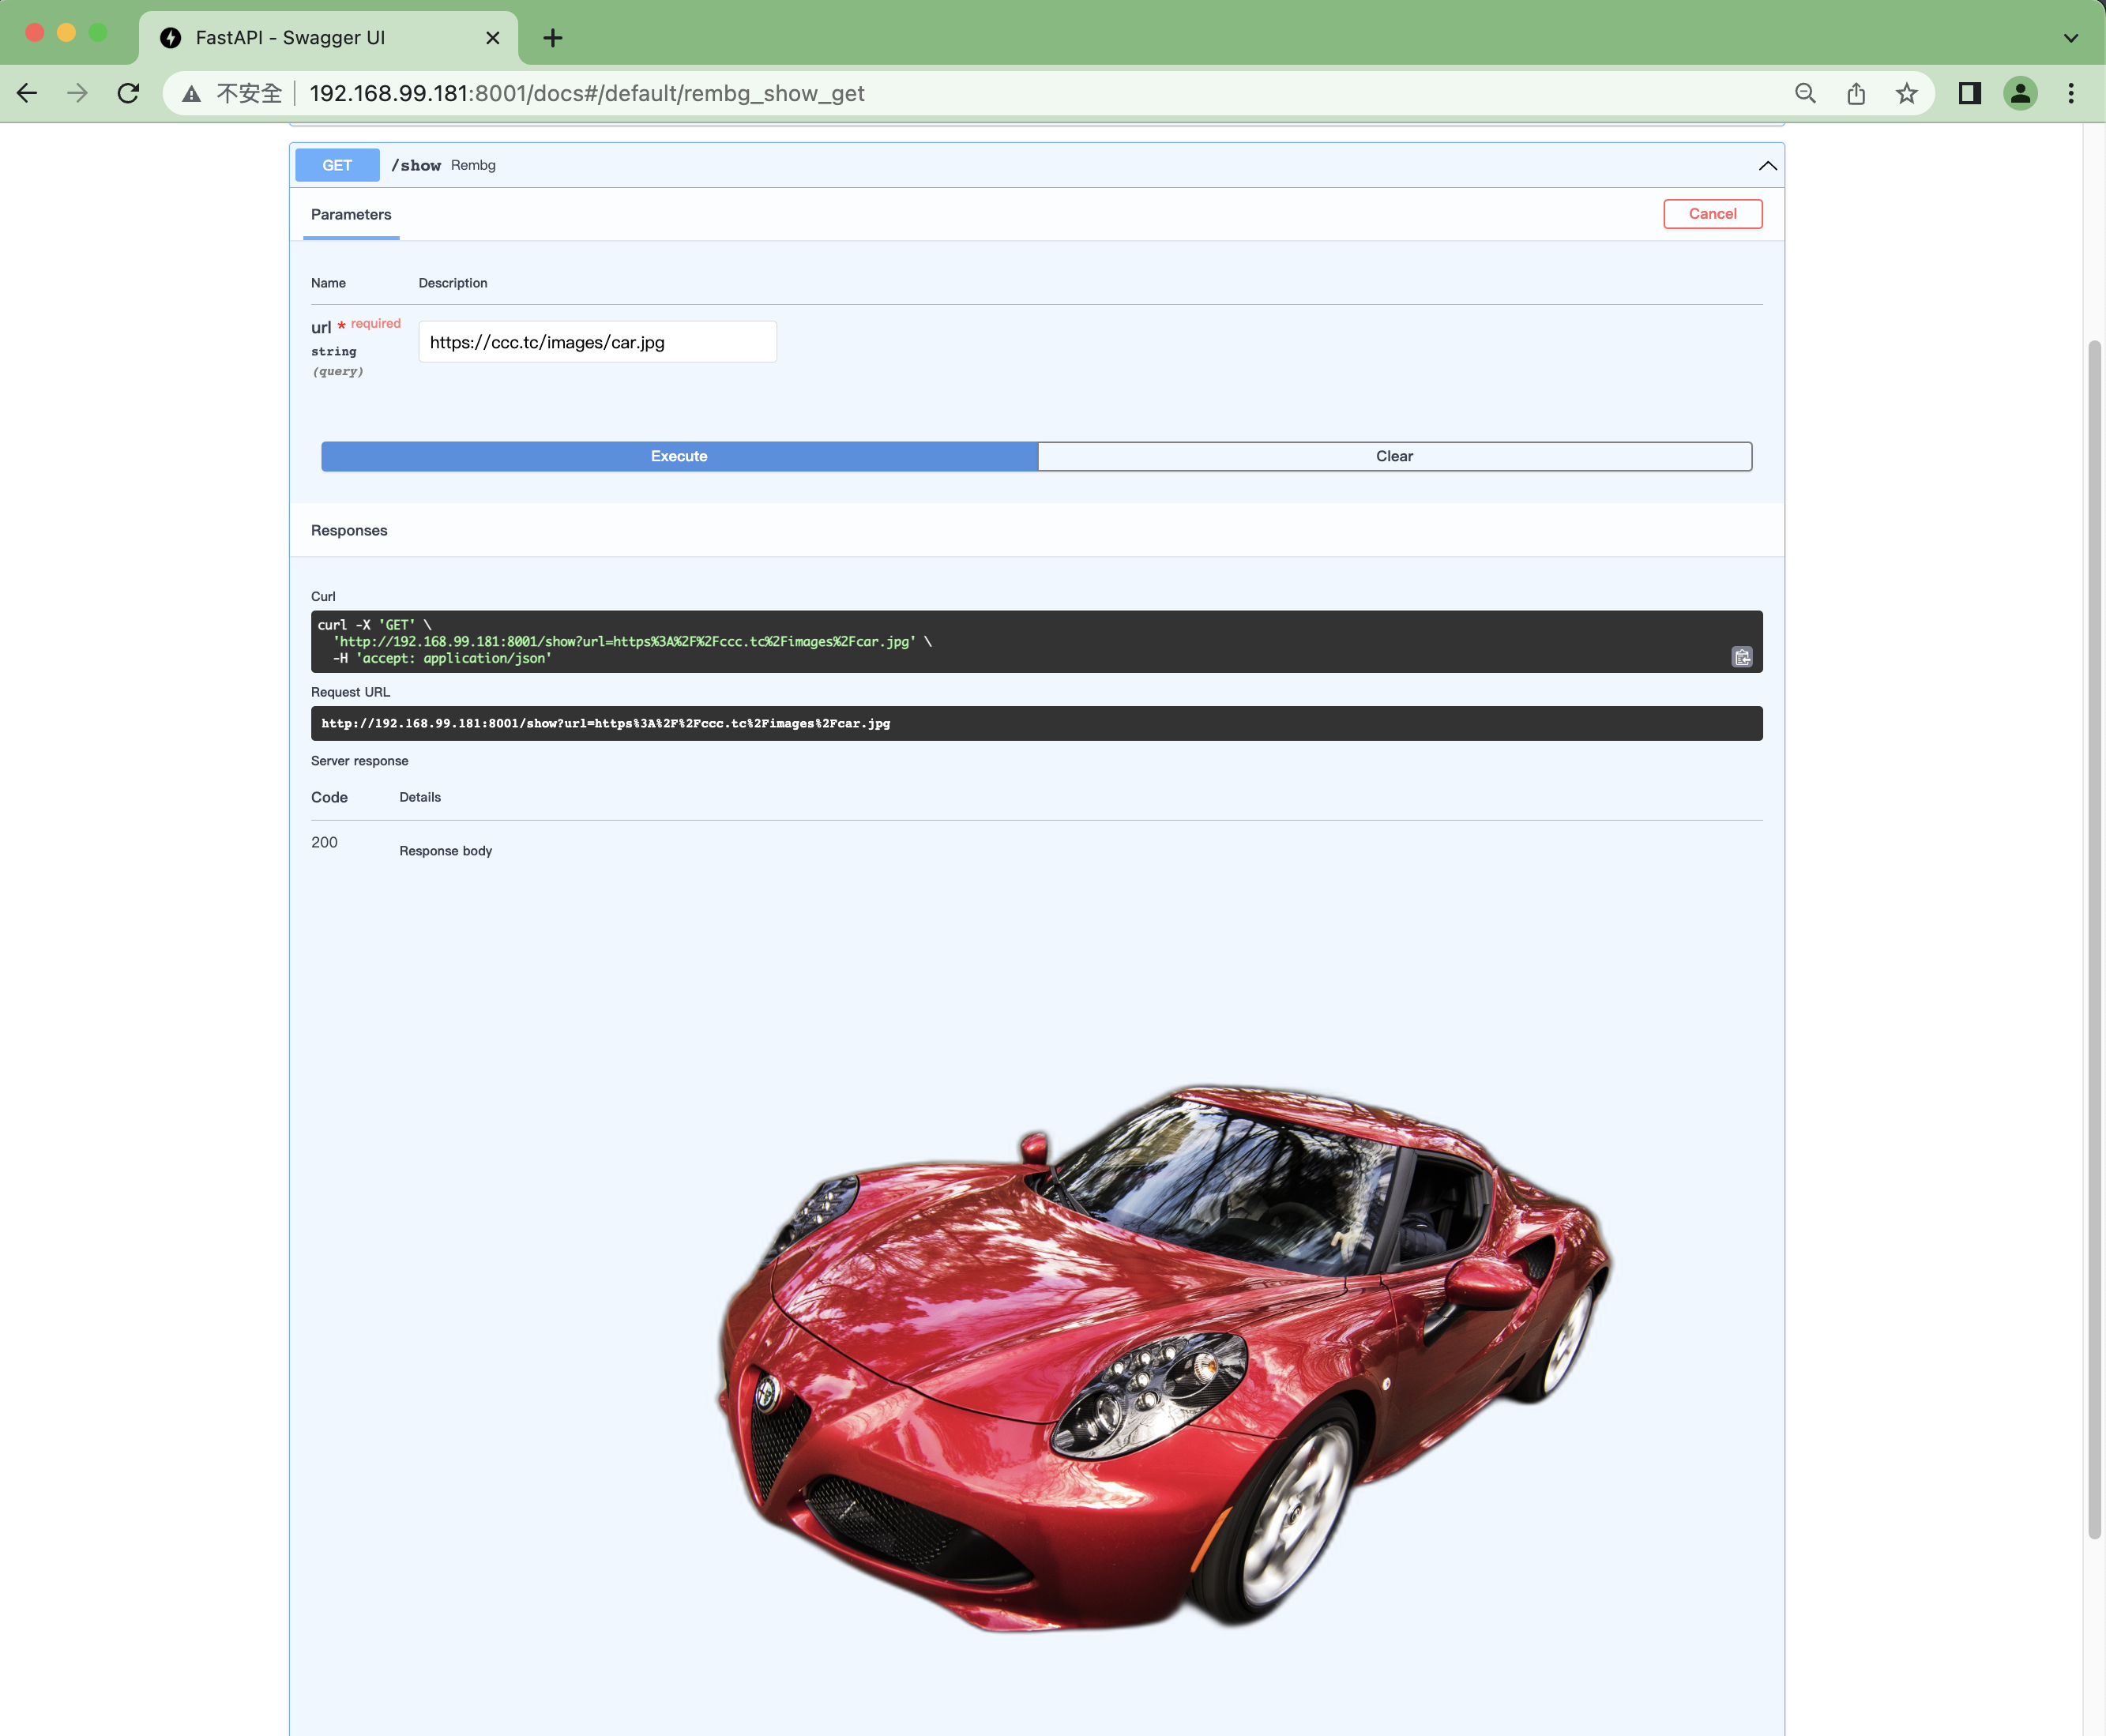
Let's test the API, and memorize the picture files
By adding HAProxy settings, we can allow different languages to share the same domain name, but that's another story.
For example, my blog is a PHP environment running Laravel, but the API is fastapi running Python.
The test URL is as follows:
https://www.ccc.tc/api/rembg/docs


No Comment
Post your comment