Preface
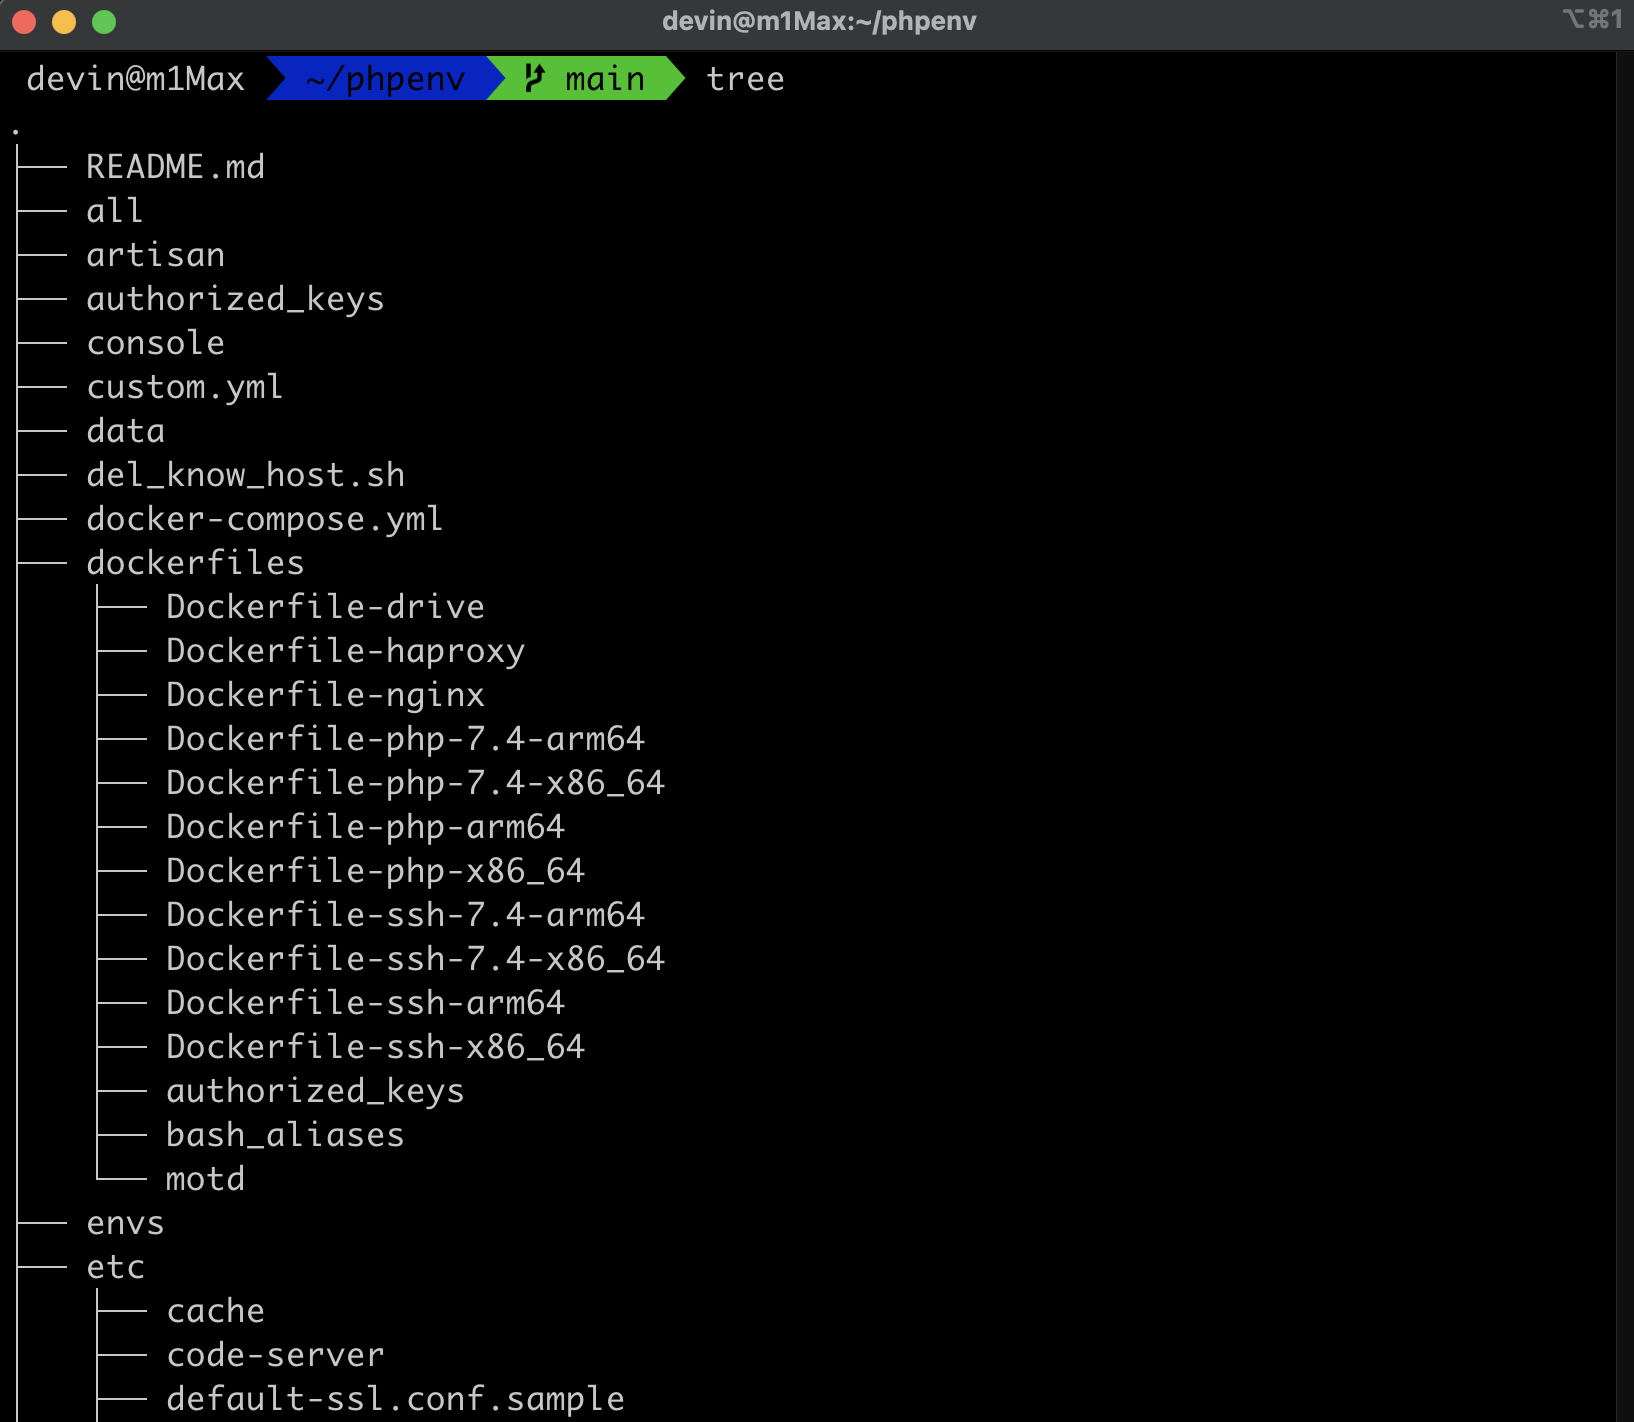
Believe that Linux users have probably used the tree command, we can directly install the tree command through homebrew,
But if we want to do it ourselves How to compile and install?
This article introduces how to compile tree instructions and install on your own MacOS.
The steps are as follows
1. First, go to the following website to download the original tree file.
http://mama.indstate.edu/users/ice/tree/
2. After downloading, you can use the tar command to decompress it.
tar zxvf tree-2.1.0.tgz
3. cd tree-2.1.0/ to enter the folder.
4. View the installation instructions. On MacOS, we can also use the cat INSTALL command to view the contents of the file.
Installation instructions:

1. Edit the Makefile for your OS.  Comment out the Linux options and un-comment
   the options for your OS.
2. Type: make
3. Type: make install
4. Enjoy colorful directory trees.

  I cannot test on non-Linux machines, so please feel free to contribute
porting information, bug reports, compile options, patches, etc for porting to
other OS's to ice@mama.indstate.edu.

  I would also welcome any localization efforts, particularly translating the
man page to other languages.  And of course feel free to suggest options and
improvements you would like to see in tree.
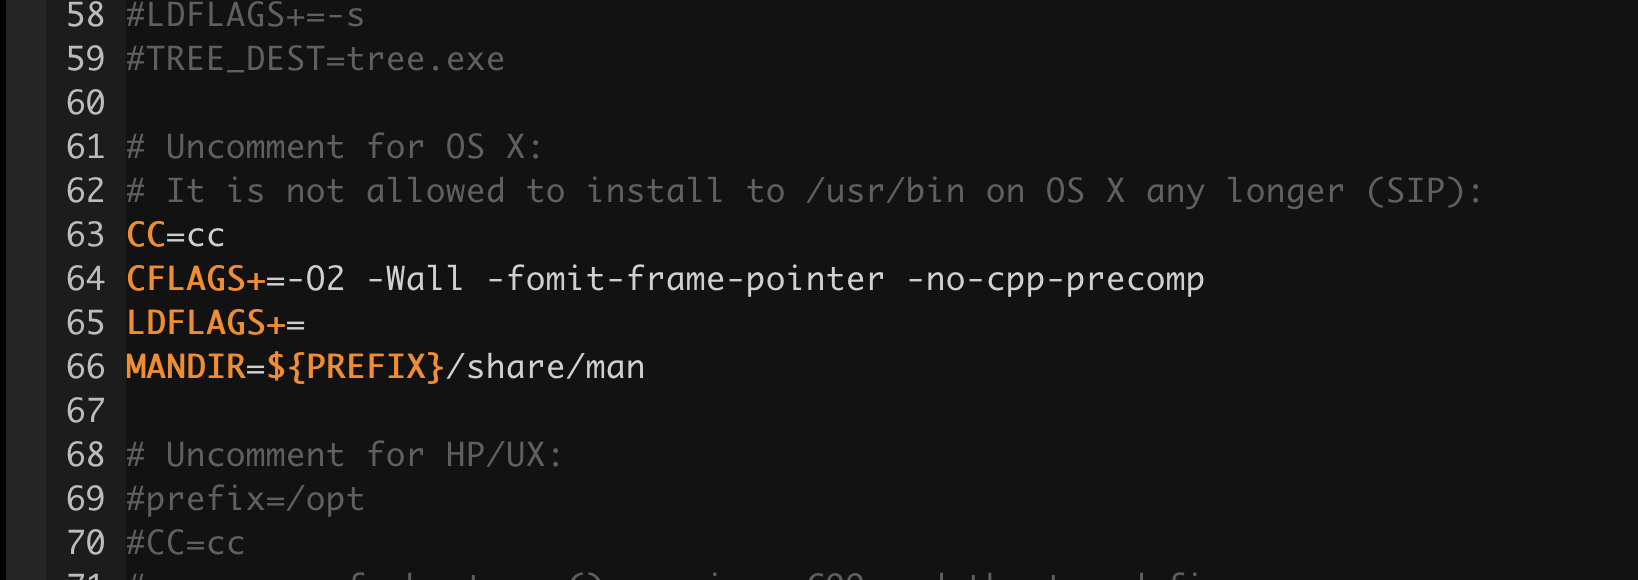
5. As pointed out in the explanation of the first point, modify the Macfile, comment out the project part of Linux defaults, and cancel the option of your operating system. 
6. Execute make to compile. Your system should have XCode installed.
make
sudo make install
7. Since Mac OS 10.11 has a rootless base system, you can try to use sudo make install. If it doesn’t work, please refer to my other article: https://www.ccc.tc/notes/1
Or we simply copy the compiled tree file to /usr/local/ Just under the bin.
cp tree /usr/local/bin
This completes the compilation and installation of the tree command. 


No Comment
Post your comment